No Dye!! (there was some left over in the pot that we couldnt get out tho)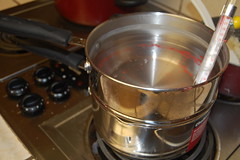
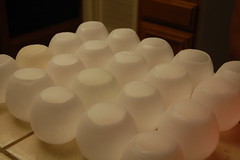
With the Tealight!!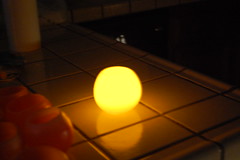 YAYYY!!!
HINT: Make sure the letters are facing the right way!!
STEP # 5
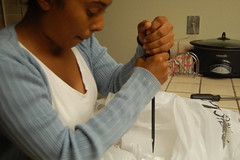
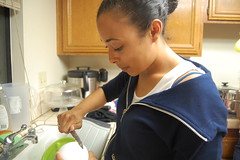
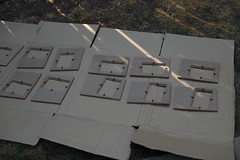
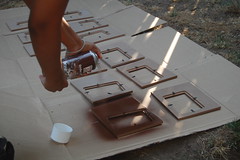
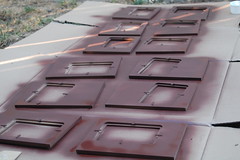
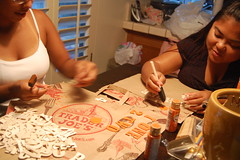
Maria was in charge of the layout of the letters and numbers since the lil sis had to go home. Once we agreed on the placement, she glued them on and I think they turned out pretty well, The only thing I would change is that I wanted to have a darker orange but this was the darkest I could find. I hope all the accents of orange end up matching each other in shade. FINGERS CROSSED....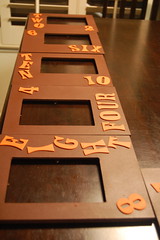
LAST STEP
Wash all the orange and brown fingers from the paint. lol
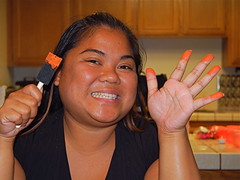
Hope You Like Them!!
For the front page I created a layer for the background in orange, then a layer for the picture, and a layer for the text. Dom took the picture after his proposal, I loved how the picture came out so I had to use it. 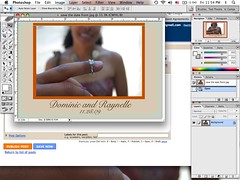
For the back, I made a text layer with the words "save the date" many times and rotated it so that it would serve as the divide between the message and the address.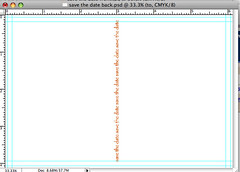
I added a text layer for each part of the left side message, so that I could change the layout of the paragraphs to my liking. I switched font colors as well so that it would break up the text visually. 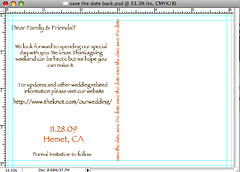
Then on the right side I put the "to" and "from" on separate layers and added my address. Postage will go on this side as well. 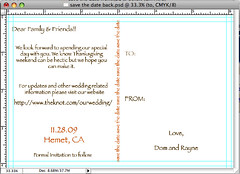
For printing purposes you might want to make sure the printers not put the uv gloss on the back so that you can write on the postcard. I got the uv coating since I plan to use labels for the addresses, I dont want to write out 80 invites, especially with my sloppy writing. Overall I like the save the dates because they are personal without having our faces plastered on there for everyone to see since im planning on mailing them as it, with no envelopes.
What do you think?
| You Will Need: |
| High-Melt Paraffin Wax (IGI 1260) or another high melt wax |
| Balloons |
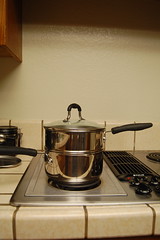
| Double Boiler |
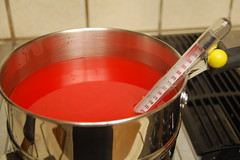
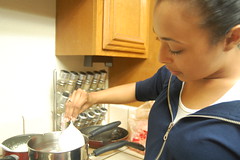
| Cookie Sheet Here are the steps 1. Fill a water balloon with lukewarm water. 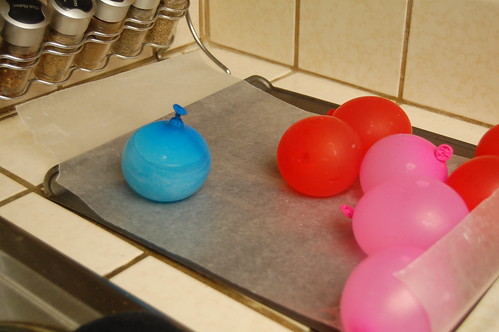 2. Break up your wax if you have a slab of it. We used a huge screw driver for this job. 3. If you want to dye your wax, then put a little at a time. We put red and yellow dye until we got the color of orange.
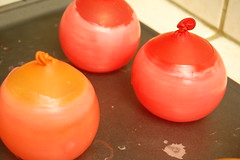
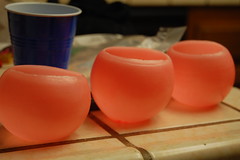
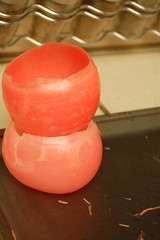
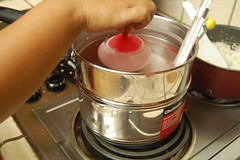
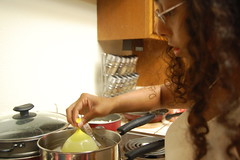
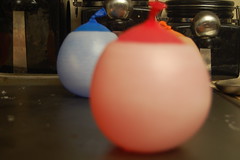
5. Hold the balloon in the wax for a few seconds, and then slowly lift it out of the wax. Dip the balloon a few more times, allowing some time between dips to let the wax cool. 6. While it is still quite warm, carefully set the balloon down onto a piece of paper or a cookie sheet, making sure it is level. This will create a flat bottom for the luminary. 7. Dip your balloon a few more times until it is the desired thickness. A good target thickness is 1/4 to 1/2 of an inch. 8. Set the balloon on the paper or cookie sheet again and let it cool. 9. When the wax is completely cooled, hold the balloon over a sink or bucket, facing away from you. Carefully pop the balloon with a skewer or knife and let the water drain out. Throw away the balloon shards. 10. To level the top of the luminary, heat a cookie sheet on the stove and place the luminary top-down onto the hot sheet and carefully melt the edges until it is level. 12. So as you see they didnt turn out ORANGE but rather peach. So yeah now I will need to paint them. Maybe i will paint them brown, that seems easier than painting them orange. hmmm gotta think about that. |