
I got this idea off of a DIY wedding site. soooo helpful.
STEP # 1
Buy inexpensive frames from Michaels. ME and the cousin-to-be Michelle went downtown to the Michaels outlet and bought the frames, wooden #s and letters, brown spray paint, orange paint, tacky glue, and brushes.
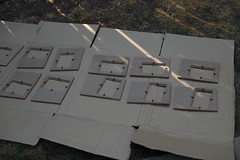
STEP # 2
We cut open a cardboard box outside and laid out all the frames. We sprayed painted the backs of all the frames and backs of the stands first.
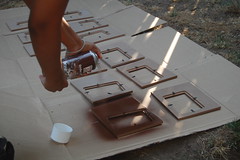
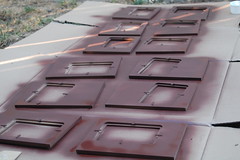
STEP # 3
Once they dry, flip them over and do 2 coats of spray paint on the front. Also spray paint the rest of the stand.
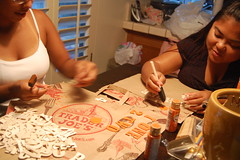
STEP # 4
I had the job of finding all and matching up the letters and numbers, while Dana and Maria started painting them all. They painted 2 coats on each wooden letter or number.
HINT: Make sure the letters are facing the right way!!
STEP # 5
Maria was in charge of the layout of the letters and numbers since the lil sis had to go home. Once we agreed on the placement, she glued them on and I think they turned out pretty well, The only thing I would change is that I wanted to have a darker orange but this was the darkest I could find. I hope all the accents of orange end up matching each other in shade. FINGERS CROSSED....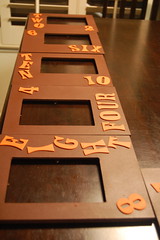
LAST STEP
Wash all the orange and brown fingers from the paint. lol
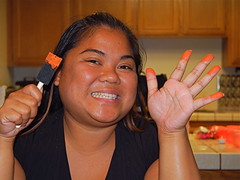
Hope You Like Them!!